Envelope cushion cover pattern
No zip and no buttons: two overlapping back panels close it. Sewing pattern, 45 × 45 cm.
Difficulty: 1 out of 5. Easy.
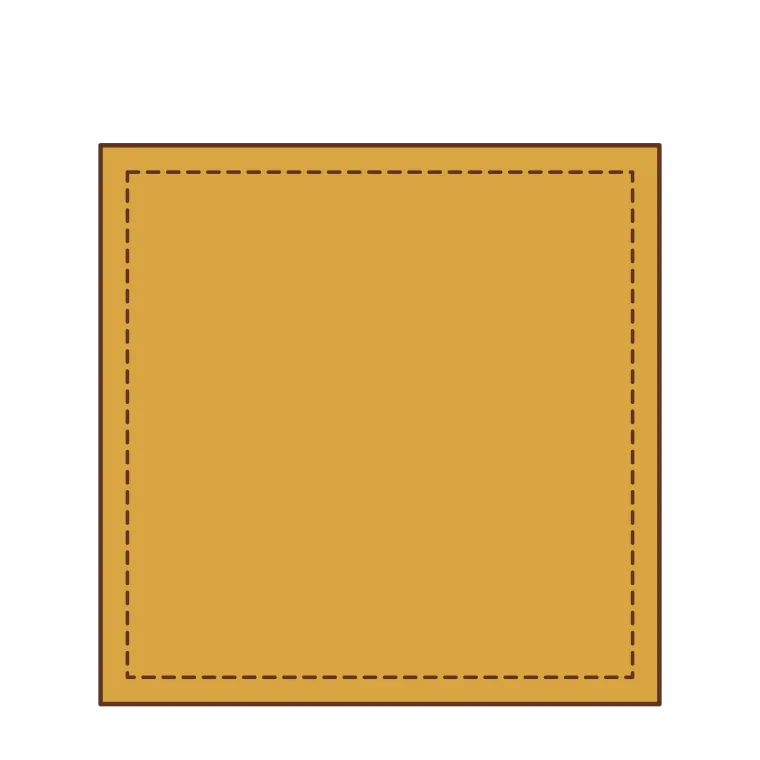
Sizes may vary with the materials you use. We suggest making a small sample first.
- Size
- 45 × 45 cm
- Seam allowance
- 1 cm
- Fabric
- 85 cm × 140 cm
- Overlap
- 10.8 cm
- Pieces
- 3
You will need
- 85 cm of 140 cm wide fabric
- Cushion pad, 45 × 45 cm
- Matching thread
- Sewing machine with zigzag, or an overlocker
- Fabric scissors or a rotary cutter
- Tape measure or ruler
- Pins or fabric clips
- Iron and ironing board
- Fabric marker
- Fabric: Mustard
Before you start
- This design has no paper template: every piece is a measured rectangle.
- Wash and iron the fabric before cutting, so it shrinks now and not after sewing.
- Medium-weight cotton, cotton-linen blend or a furnishing-style weave all work. If you are new to sewing, avoid fabric that is slippery, stretchy or very thick.
- The front is one piece and the back is two. Turn the cover through the envelope opening, so there is no separate gap to leave.
- Pin the pieces before sewing, and press each seam with an iron as you finish it.
- Start and end each seam with a few stitches backwards so it does not come undone.
- Try your machine on a scrap of the same fabric first.
Abbreviations
| Right side | The side of the fabric that shows on the finished item. |
|---|---|
| Raw edge | A cut edge that has not been folded or finished. |
| Seam allowance | The strip between the cut edge and the stitching line. |
| Topstitch | A straight line of stitching on the right side, close to the edge. |
| Wrong side | The side of the fabric that stays inside the finished item. |
| Backstitch | A few stitches backwards at the start and end of a seam, to secure it. |
| Overlap | The part where the two back panels lie over each other. |
Cutting
Lay the fabric flat and keep the edges of each rectangle in line with the straight grain.
| Front × 1 | Cut a rectangle 47 cm × 47 cm, allowances included. | |
|---|---|---|
| Back × 2 | Cut a rectangle 47 cm × 31.9 cm, allowances included. |
Each back panel gives up 3 cm to the hem and 1 cm to the outer seam, leaving 27.9 cm. Two panels of 27.9 cm cover 45 cm with 10.8 cm of overlap.
Hem the back panels
Choose one 47 cm edge on each back panel and repeat these steps on both.
| 1. | Lay the fabric wrong side up. | |
|---|---|---|
| 2. | Fold the chosen edge in by 1 cm and press. | |
| 3. | Fold it in again by 2 cm, press and pin. | |
| 4. | Stitch close to the inner fold, with a few backstitches at each end. |
After hemming, each panel measures 28.9 cm deep.
Layer the pieces
| 1. | Lay the front panel right side up. | |
|---|---|---|
| 2. | Place one back panel on it, right side down, with its raw edge along the top edge and its hem toward the centre. | |
| 3. | Place the other back panel the same way, with its raw edge along the bottom edge. | |
| 4. | Line up all four outer edges and pin, checking that the hems stay flat. |
With the outer edges lined up, the two hems overlap by 10.8 cm and run parallel. Right sides face each other, so they come to the outside when you turn the cover.
Sew the four sides
Set a straight stitch. About 2.5 mm suits a medium woven fabric.
| 1. | Start 1 cm in from a corner and backstitch. | |
|---|---|---|
| 2. | Sew 1 cm from the edge. Slow down where the panels overlap, as the layers are thick there. | |
| 3. | At each corner, leave the needle down, lift the foot and turn the fabric 90 degrees. | |
| 4. | Sew all four sides and backstitch where you started. | |
| 5. | Go over the seam a second time for a short way where the hems meet it. These points take the load when the pad goes in and out. |
Do not stitch the envelope opening closed.
Clean up and trim
Keep the cover inside out for this.
| 1. | If the fabric frays, zigzag or overlock the seam allowances together, without cutting the seam. | |
|---|---|---|
| 2. | Trim each corner diagonally, 2 to 3 mm from the stitching. |
Turn and fill
| 1. | Turn the cover right side out through the envelope opening. | |
|---|---|---|
| 2. | Ease out the four corners gently, without pushing hard with a sharp tool, and press. | |
| 3. | Fold the pad slightly and put it through the opening, filling one corner first and then the others. | |
| 4. | Spread it evenly and lay the back panels over each other. |
A very full pad puts more strain on the opening.
If something looks off
| • | It came out small: check that your seam is 1 cm, not wider. | |
|---|---|---|
| • | The back will not close: check the panels were cut 31.9 cm and folded by 3 cm. | |
| • | The corners look bulky: trim them closer, without cutting the stitching. | |
| • | It shrank in the wash: wash the fabric before cutting next time. | |
| • | The back gapes: check the overlap at the centre. | |
| • | The seams ripple: do not pull the fabric, and check stitch length and tension. | |
| • | Threads come out of the raw edges: clean them with zigzag or overlock. |