Christmas tree ornament pattern
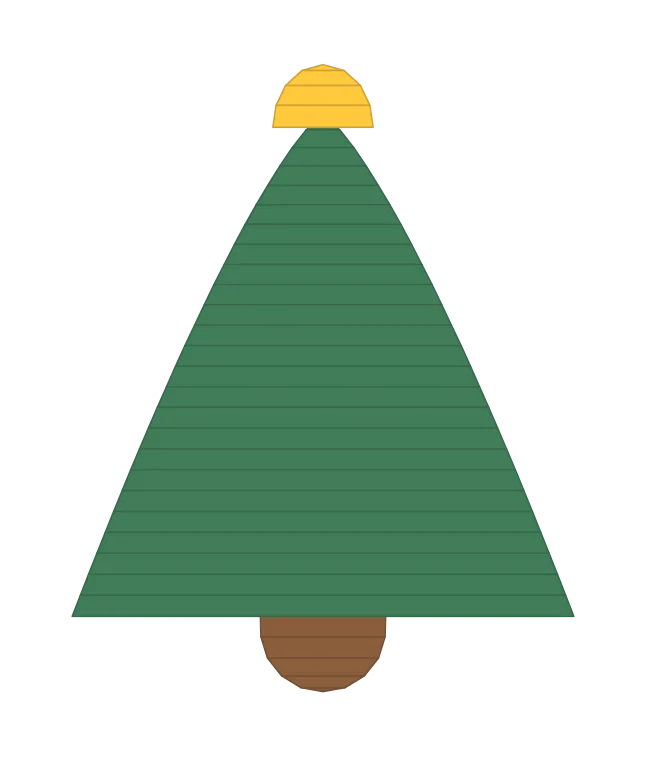
A small stuffed tree to hang or stand on a shelf. Amigurumi, about 12 cm tall.
Difficulty: 3 out of 5. several techniques.
Sizes may vary with the materials you use. We suggest making a small sample first.
- Height
- 12 cm
- Gauge
- 21 stitches and 23 rows in 10 cm
- Stitches
- 1026
You will need
- Worsted (4) yarn in the colours listed
- 3.5 mm crochet hook, or the size that matches your swatch
- Polyester fibre stuffing, yarn needle, stitch marker
- Colour C yarn for embroidered eyes
- A: Green
- B: Olive
- C: Yellow
Before you start
- Size depends on how tight you crochet. Fewer stitches per 10 cm makes a larger toy.
- Make a small test piece first. If it comes out larger than the gauge, try a smaller hook. If it comes out smaller, try a larger hook.
- A number in brackets at the end of a line, such as (24), is how many stitches you should have. Count them before moving on.
- Made a mistake? Pull the yarn gently to undo the stitches back to the mistake, then carry on from there.
- Toys are worked in a spiral, so rounds are not joined. Put a stitch marker in the first stitch of each round and move it up as you go.
- Keep your stitches tight so the stuffing does not show. A smaller hook than the yarn label suggests helps with this.
- Add stuffing a little at a time, and shape it with your fingers before closing a part.
Abbreviations
| MR | magic ring. Make a loop with the yarn tail, work the first stitches into it, then pull the tail to close the hole. |
|---|---|
| sc | single crochet. Put the hook in a stitch, wrap the yarn, pull up a loop (2 loops on hook), wrap again and pull through both. |
| inc | 2 sc in the same stitch. One stitch becomes two. |
| dec | invisible decrease: sc 2 together through front loops. Two stitches become one. |
Tree
Colour A (Green). Work in a spiral. When finished, cut the yarn and leave a long tail. You will use it to sew this part on.
| Rnd 1 | 6 sc in MR | (6) |
|---|---|---|
| Rnd 2 | sc around | (6) |
| Rnd 3 | inc × 6 | (12) |
| Rnd 4 | sc around | (12) |
| Rnd 5 | (1 sc, inc) × 6 | (18) |
| Rnd 6 | sc around | (18) |
| Rnd 7 | 1 sc, inc, (2 sc, inc) × 5, 1 sc | (24) |
| Rnd 8 | sc around | (24) |
| Rnd 9 | 1 sc, inc, (3 sc, inc) × 5, 2 sc | (30) |
| Rnds 10–11 | sc around | (30) |
| Rnd 12 | (4 sc, inc) × 6 | (36) |
| Rnd 13 | sc around | (36) |
| Rnd 14 | (5 sc, inc) × 6 | (42) |
| Rnds 15–16 | sc around | (42) |
| Rnd 17 | 3 sc, inc, (6 sc, inc) × 5, 3 sc | (48) |
| Rnds 18–19 | sc around | (48) |
| Rnd 20 | (7 sc, inc) × 6 | (54) |
| Rnds 21–22 | sc around | (54) |
| Rnd 23 | 4 sc, inc, (8 sc, inc) × 5, 4 sc | (60) |
| Rnd 24 | sc around | (60) |
| Rnd 25 | 4 sc, inc, (9 sc, inc) × 5, 5 sc | (66) |
Add stuffing before the hole gets too small, then close.
Trunk
Colour B (Olive). Work in a spiral. When finished, cut the yarn and leave a long tail. You will use it to sew this part on.
| Rnd 1 | 6 sc in MR | (6) |
|---|---|---|
| Rnd 2 | inc × 6 | (12) |
| Rnd 3 | sc around | (12) |
| Rnd 4 | (1 sc, inc) × 6 | (18) |
| Rnds 5–6 | sc around | (18) |
Add stuffing before the hole gets too small, then close.
Star
Colour C (Yellow). Work in a spiral. When finished, cut the yarn and leave a long tail. You will use it to sew this part on.
| Rnd 1 | 6 sc in MR | (6) |
|---|---|---|
| Rnd 2 | inc × 6 | (12) |
| Rnds 3–4 | sc around | (12) |
Leave this part flat, with no stuffing.
Assembly
| 1. | Stuff the tree firmly. Crochet a flat circle in Colour A to the width of the opening and sew it on as a base. | |
|---|---|---|
| 2. | Sew the trunk to the base and the star to the tip. | |
| 3. | Add a yarn loop at the top for hanging. Sew on beads only if the ornament is out of reach of young children. |