Cotton dishcloth pattern
A small, useful project for leftover cotton. Worked flat, 24 × 24 cm.
Difficulty: 2 out of 5. Easy.
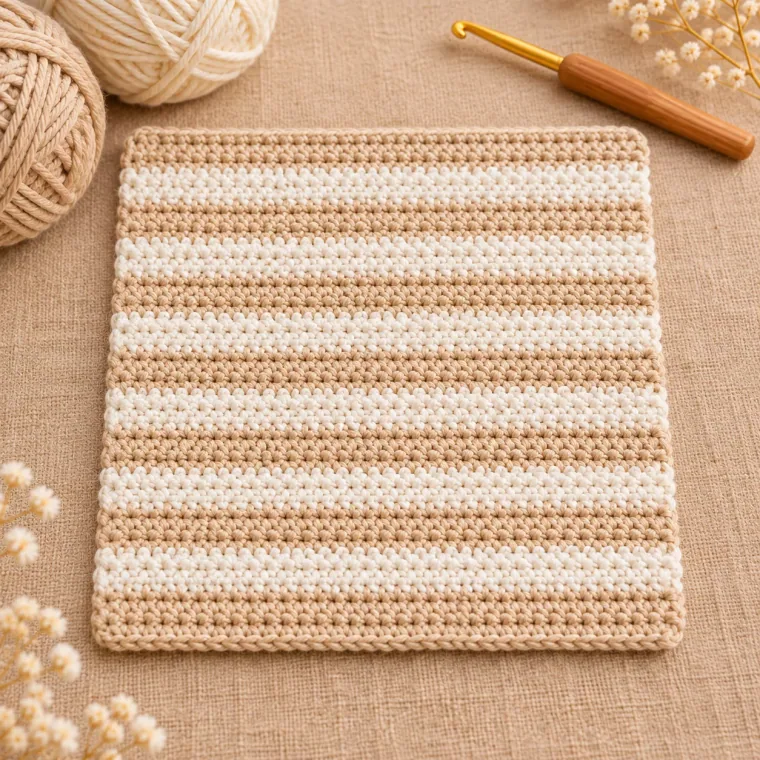
Sizes may vary with the materials you use. We suggest making a small sample first.
- Size
- 24 × 24 cm
- Gauge
- 18 stitches and 21 rows in 10 cm
- Rows
- 50
- Stitches
- 2150
You will need
- Worsted (4) yarn in the colours listed
- 3.5 mm crochet hook, or the size that matches your swatch
- Yarn needle and scissors
- Ruler or tape measure
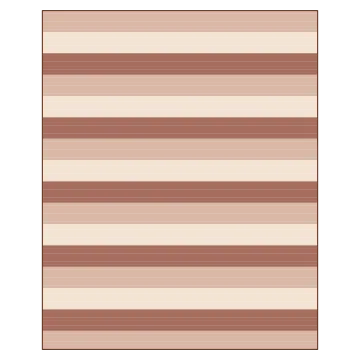
- A: Beige
- B: White
Before you start
- Make a small test piece first. If it comes out larger than the gauge, try a smaller hook. If it comes out smaller, try a larger hook.
- A number in brackets at the end of a line, such as (24), is how many stitches you should have. Count them before moving on.
- Made a mistake? Pull the yarn gently to undo the stitches back to the mistake, then carry on from there.
- This piece is worked flat, back and forth in rows, not in a spiral.
- The turning chain is not part of the 43 stitches. Do not skip the first or last stitch of a row.
- Use two yarns of the same brand, weight and fibre. Cotton absorbs water and washes well, so it suits kitchen cloths better than acrylic.
Abbreviations
| ch | chain. Wrap the yarn over the hook and pull it through the loop on the hook. |
|---|---|
| sc | single crochet. Put the hook in a stitch, wrap the yarn, pull up a loop (2 loops on hook), wrap again and pull through both. |
Foundation chain
Colour A (Beige).
| 1. | With the yarn end, make a slip knot and put it on the hook. | |
|---|---|---|
| 2. | ch 44, keeping the chains even and not too tight. | |
| 3. | Count them without the loop on the hook. You should have 44 chains. |
Rows 1 to 4
Colour A (Beige).
| Row 1 | 1 sc in the second chain from the hook and in each chain to the end | (43) |
|---|---|---|
| Rows 2–4 | ch 1, turn, 1 sc in each stitch | (43) |
Put the hook under both top loops of the first real stitch, and do not skip the last stitch.
Changing colour
Make the change in the last stitch of row 4, not in the first stitch of the new row. It gives a cleaner line.
| 1. | Put the hook in the last stitch and pull up a loop in the old colour, so you have 2 loops on the hook. | |
|---|---|---|
| 2. | Stop there. Take the new colour and pull it through both loops to finish the stitch. | |
| 3. | ch 1 in the new colour, turn and carry on. | |
| 4. | Cut the old colour leaving 12 to 15 cm. You will hide the ends at the end. |
Stripe order
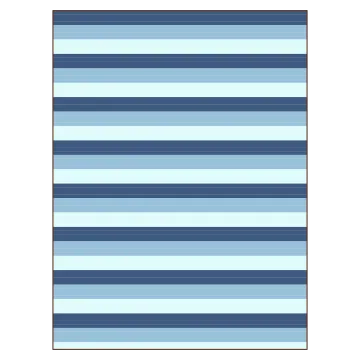
Every row is the same: ch 1, turn, 1 sc in each stitch. Change colour every 4 rows.
| Rows 1–4 | Colour A (Beige) | (43) |
|---|---|---|
| Rows 5–8 | Colour B (White) | (43) |
| Rows 9–12 | Colour A (Beige) | (43) |
| Rows 13–16 | Colour B (White) | (43) |
| Rows 17–20 | Colour A (Beige) | (43) |
| Rows 21–24 | Colour B (White) | (43) |
| Rows 25–28 | Colour A (Beige) | (43) |
| Rows 29–32 | Colour B (White) | (43) |
| Rows 33–36 | Colour A (Beige) | (43) |
| Rows 37–40 | Colour B (White) | (43) |
| Rows 41–44 | Colour A (Beige) | (43) |
| Rows 45–48 | Colour B (White) | (43) |
| Rows 49–50 | Colour A (Beige) | (43) |
The last stripe has only 2 rows so the total is 50. For matching top and bottom stripes, work 52 rows instead.
Finishing
| 1. | After the last stitch, cut the yarn leaving about 15 cm, pull it through the last loop and tighten gently. | |
|---|---|---|
| 2. | With a yarn needle, take each end a few centimetres through stitches of the same colour on the back, then a few stitches in another direction to secure it. Cut the extra. | |
| 3. | There is no separate border, so the piece is finished after the last row. |
Washing and shaping
| 1. | Check the care label and wash the piece gently at a suitable temperature. | |
|---|---|---|
| 2. | Press out the extra water with a towel instead of wringing it. | |
| 3. | Lay it flat, straighten the edges and corners and leave it until fully dry. Do not hang it, as wet yarn is heavy and stretches. | |
| 4. | The target is about 24 × 24 cm. Yarn can shrink or stretch a little, so check the size after the first wash. |
If something looks off
| • | It gets narrower: you may be skipping the first or last stitch. Count 43 on every row. | |
|---|---|---|
| • | It gets wider: you may be working into the turning chain. | |
| • | The colour changes look uneven: change colour on the last pull-through of the last stitch. | |
| • | The first edge is too tight: chain more loosely, or use a hook half a size larger just for the chain. | |
| • | The shape is off: check your gauge, as a different yarn or hook changes the size. | |
| • | The edges ripple: check that the stitch count has not grown and keep the same tension in both colours. |