Simple crochet beanie pattern
Worked from the crown down to fit a measured head. Worked in the round, to fit a 56 cm head.
Difficulty: 2 out of 5. Easy: several techniques.
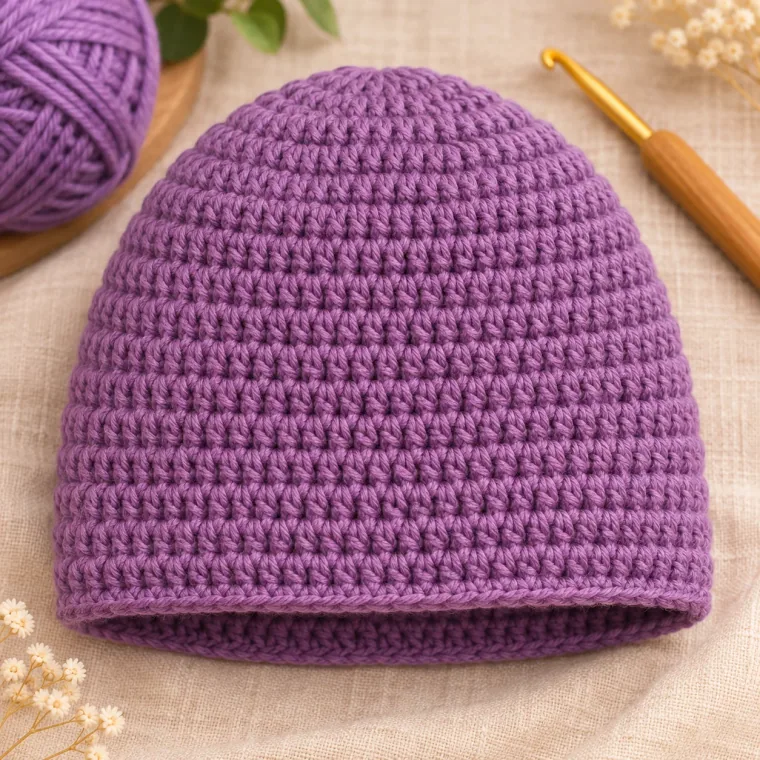
Sizes may vary with the materials you use. We suggest making a small sample first.
- Head
- 56 cm
- Hat around
- 49 cm
- Height
- 21 cm
- Gauge
- 13 stitches and 11 rows in 10 cm
- Stitches
- 1248
You will need
- Bulky (5) yarn in the colours listed
- 5.5 mm crochet hook, or the size that matches your swatch
- Stitch marker, yarn needle, scissors and tape measure
- A: Purple
Before you start
- Make a small test piece first. If it comes out larger than the gauge, try a smaller hook. If it comes out smaller, try a larger hook.
- A number in brackets at the end of a line, such as (24), is how many stitches you should have. Count them before moving on.
- Made a mistake? Pull the yarn gently to undo the stitches back to the mistake, then carry on from there.
- This hat is worked from the crown down in joined rounds, not in a spiral.
- Keep the starting chain on the same side each round for a neater join line.
- The hat is 12% smaller than the head so it stays on. If it does not fit, change the stitch count or gauge rather than adding rounds.
Abbreviations
| MR | magic ring. Make a loop with the yarn tail, work the first stitches into it, then pull the tail to close the hole. |
|---|---|
| ch | chain. Wrap the yarn over the hook and pull it through the loop on the hook. |
| hdc | half double crochet. Wrap the yarn, put the hook in a stitch, pull up a loop (3 loops on hook), wrap again and pull through all 3. |
| sl st | slip stitch. Put the hook in a stitch, wrap the yarn, and pull through the stitch and the loop on the hook in one go. |
| inc | 2 hdc in the same stitch. One stitch becomes two. |
Crown
Colour A (Purple). Start with a MR. Start each round with ch 1, which does not count as a stitch. Join each round to the first real stitch with sl st. Do not work into the chain or the join.
| Rnd 1 | 8 hdc in MR | (8) |
|---|---|---|
| Rnd 2 | inc × 8 | (16) |
| Rnd 3 | (1 hdc, inc) × 8 | (24) |
| Rnd 4 | (2 hdc, inc) × 8 | (32) |
| Rnd 5 | 1 hdc, inc, (3 hdc, inc) × 7, 2 hdc | (40) |
| Rnd 6 | (4 hdc, inc) × 8 | (48) |
| Rnd 7 | 2 hdc, inc, (5 hdc, inc) × 7, 3 hdc | (56) |
| Rnd 8 | (6 hdc, inc) × 8 | (64) |
After round 8 you should have 64 stitches. The crown may lie flat or look like a shallow bowl, depending on the yarn.
Sides
Carry on without increasing.
| Rnds 9–23 | hdc around | (64) |
|---|
After round 19, try the hat on or measure from the centre of the crown to the edge. The target is about 21 cm. Work fewer rounds for a shorter hat, or 1 to 2 more to cover the ears.
Finishing
| 1. | After the last stitch, join to the first stitch with sl st. | |
|---|---|---|
| 2. | Cut the yarn leaving about 15 cm and pull the end through the last loop to secure it. | |
| 3. | With a yarn needle, hide the end inside the hat, and secure the starting tail of the magic ring there too. | |
| 4. | Lay the hat flat and ease the crown and sides into shape. If the yarn care label allows, dampen it lightly and leave it to dry in shape. Do not stretch the bottom edge. |
If something looks off
| • | The stitch count keeps growing: you may be working into the starting chain or the joining stitch. | |
|---|---|---|
| • | It is too tight: your gauge may be off, so measure again. Adding rounds will not fix the width. | |
| • | It is too short: measure from the crown to the edge and add a few rounds without increasing. | |
| • | The join line drifts sideways: a slight lean is normal. Find the first real stitch of each round carefully. | |
| • | The crown puffs up: check your gauge, as the increases may not suit your yarn. | |
| • | The bottom edge ripples: check that every round has exactly 64 stitches. |